|
Listen to the Article Here
|
The Topic: WooCommerce Amazon Buy with Prime and Alloy
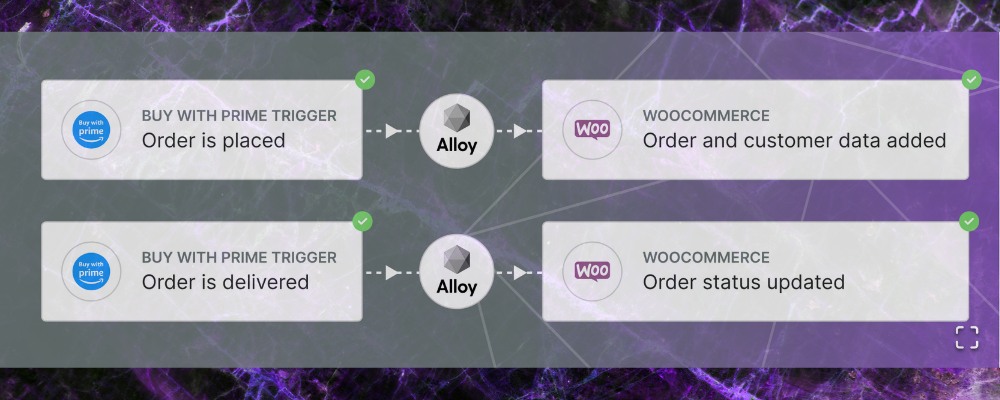
Integrating your WooCommerce online store with Amazon Buy with Prime feature can provide a seamless shopping experience for your customers. Additionally, connecting the Alloy Order Connector app to your WooCommerce store allows you to efficiently manage your orders and customer data. In this step-by-step guide, we will walk you through the process of integrating WooCommerce with Amazon’s Buy with Prime feature and connecting the Alloy Order Connector app to your WooCommerce store.
Section 1:
Integrate WooCommerce with Amazon’s Buy with Prime Feature To enable the Buy with Prime feature on your WooCommerce store and streamline the purchase process for Amazon Prime customers, follow these steps:
Step 1: Create an Amazon Seller Central Account
- Visit the Amazon Seller Central website (sellercentral.amazon.com) and sign in or create a new account.
- Complete the necessary registration steps and provide the required information.
- Set up your store and product listings on Amazon Seller Central.
Step 2: Install and Configure the WooCommerce Amazon Pay Plugin
- Log in to your WooCommerce admin dashboard.
- Navigate to “Plugins” and click on “Add New.”
- Search for “WooCommerce Amazon Pay” and install the official plugin.
- Activate the plugin and follow the on-screen prompts to configure it.
- Enter your Amazon Seller Central account credentials when prompted.
- Configure the plugin settings according to your preferences, such as shipping options and currency conversion.
Step 3: Enable Buy with Prime on WooCommerce
- In your WooCommerce admin dashboard, go to “WooCommerce” and select “Settings.”
- Click on the “Payments” tab and locate the “Amazon Pay” section.
- Enable the “Amazon Pay” payment method and save your settings.
- Test the integration by placing a test order using the Amazon Pay payment option.
Section 2:
Connect the Alloy Order Connector App to WooCommerce To streamline order management and enhance operational efficiency, follow these steps to connect the Alloy Order Connector app to your WooCommerce store:

Step 1: Install the Alloy Order Connector App
- Visit the Alloy Order Connector website and create an account (if you haven’t already).
- Download and install the Alloy Order Connector app for your operating system (Windows or Mac).
- Launch the app and sign in using your Alloy Order Connector account credentials.
Step 2: Configure the Alloy Order Connector App
- In the Alloy Order Connector app, click on “Settings” or “Preferences.”
- Locate the WooCommerce integration settings and click on “Connect” or “Add new connection.”
- Enter your WooCommerce store URL, username, and password.
- Save the settings and test the connection to ensure successful integration.
Step 3: Manage Orders with the Alloy Order Connector App
- Once the connection is established, you can view and manage your WooCommerce orders within the Alloy Order Connector app.
- Access various order management features such as order processing, shipping label generation, and inventory tracking.
- Familiarize yourself with the Alloy Order Connector app’s user interface and utilize its features to streamline your order fulfillment process and retention of customer information.
Summary of WooCommerce Amazon Buy with Prime and Alloy
By integrating WooCommerce with Amazon’s Buy with Prime feature and connecting the Alloy Order Connector app to your store, you can enhance your customers’ shopping experience and streamline your order management and customer data management processes. This integration allows you to leverage the benefits of Amazon’s Buy with Prime feature while efficiently managing your WooCommerce orders using the Alloy Order Connector app. Follow the steps outlined in this guide to seamlessly integrate these tools and optimize your e-commerce operations and sales.
Additional Resources:
Tip 1:
When asked for your WooCommerce URL, use the site address found in your WordPress dashboard: Settings > General – use WordPress Address or Site Address. When configuring Alloy, it will validate your setup.
Tip 2:
To setup a WooCommerce Consumer key and Consumer Secret: WooCommerce > Settings > Advanced > Rest API > Add Key (Permission = Read/Write)


